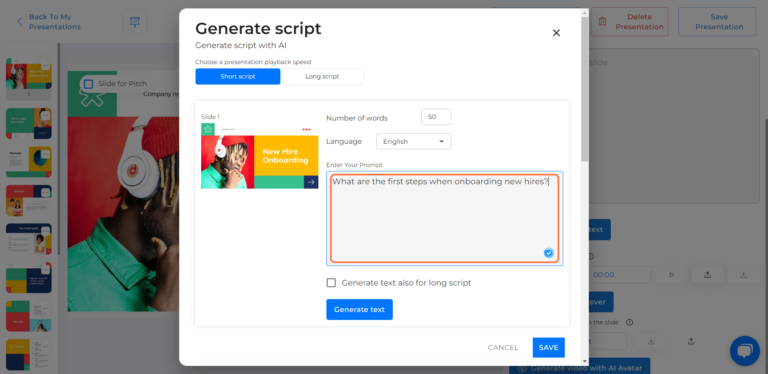
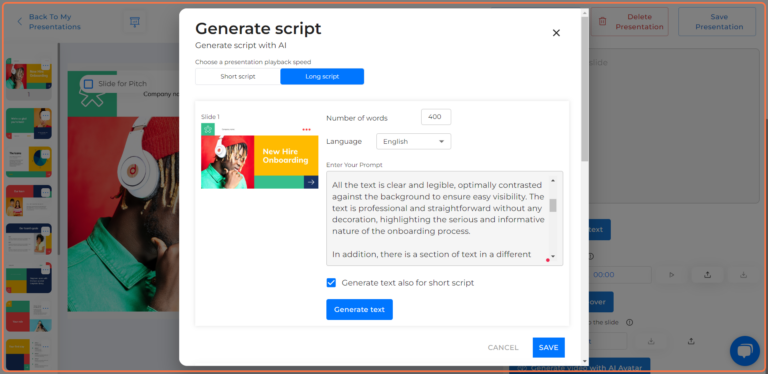
Specify the desired length of the output script by typing the number of words
In the text field, enter the prompt for AI. This text will clarify the task for the artificial intelligence. For example, if you want a script for a slide about your company’s mission statement, you can enter the text prompt “company mission statement”.
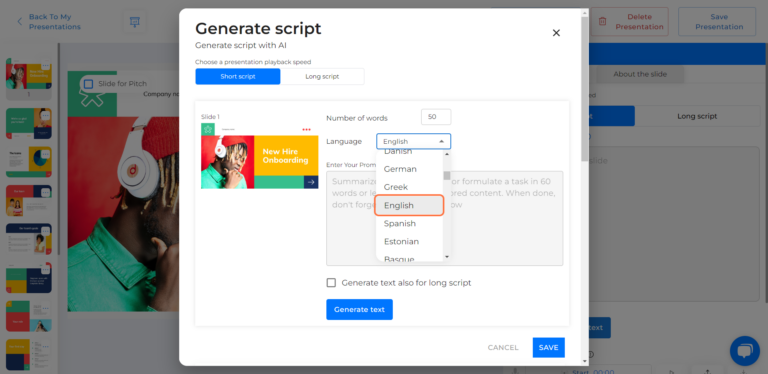
Choose the script language.
You can generate a short or long script version. To generate for both, check the box Generate also for…
The slides’ length is the speed of the presentation, which you can set for a listener or give them an option to choose from.
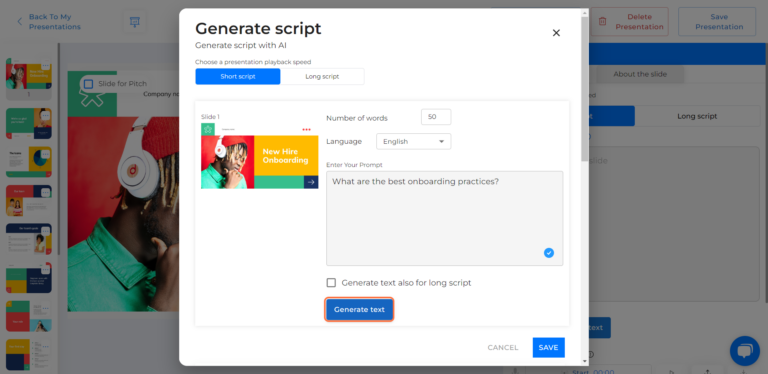
Once you have entered all the necessary information, click the Generate button to initiate the process.
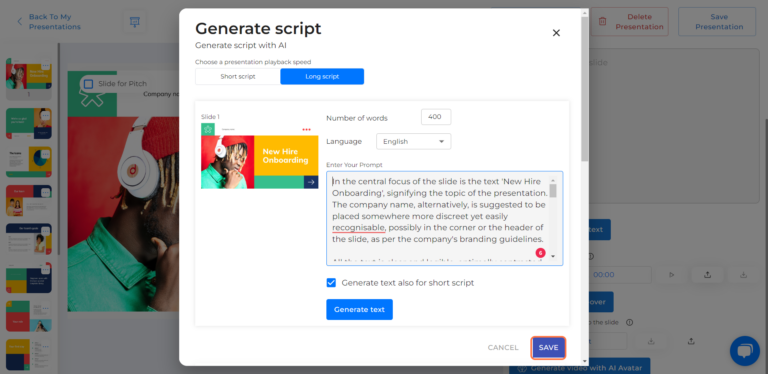
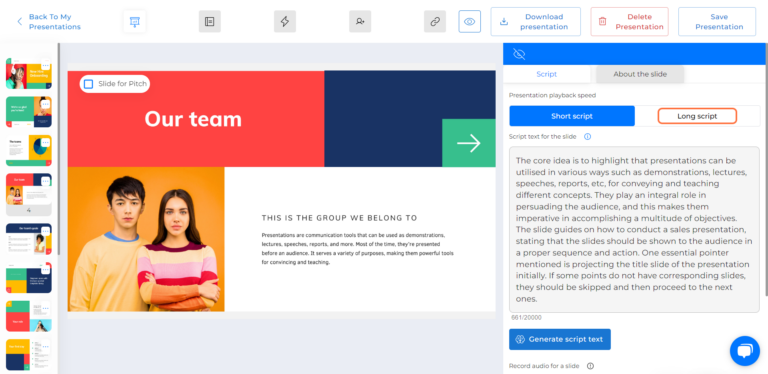
After the script is generated, you will see the output text on your screen.
Review the generated text and make any changes or edits to best suit your requirements.
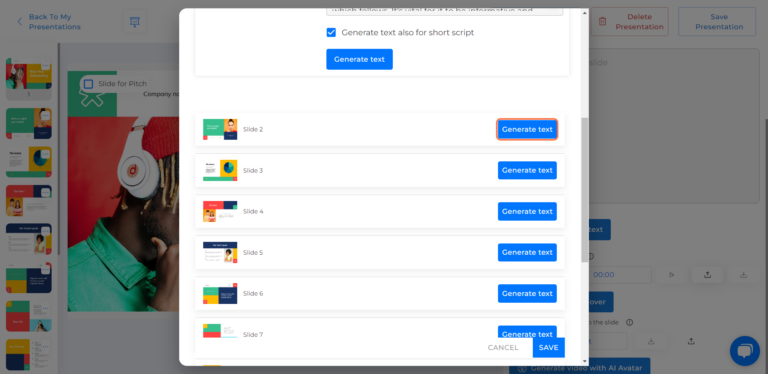
To add scripts to other slides, scroll up or down, depending on which slide you have started the generation (they will appear in this window in numerical order, from the first to the last).
Repeat the process for all slides you want the script to be generated.
You can generate texts just slide by slide.
Once satisfied with the generated script, click the Save button to return to the General editing window.
Note, that there is a limit of 20 000 symbols per one generation.
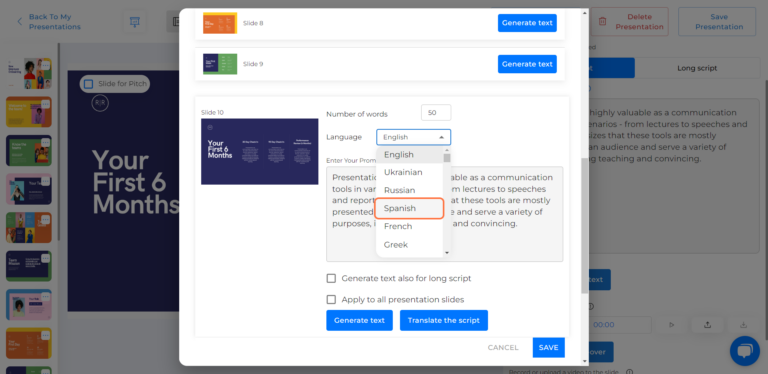
How to translate a presentation
Once you have generated or entered the text script manually, the Translate the script button will appear in the script generation window
Choose a language and click Translate and Save result.
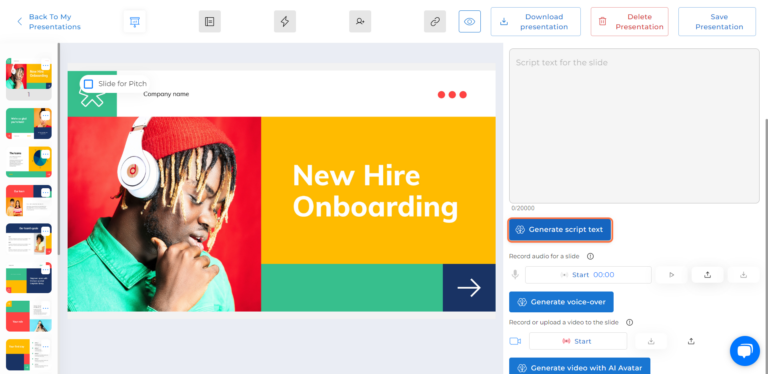
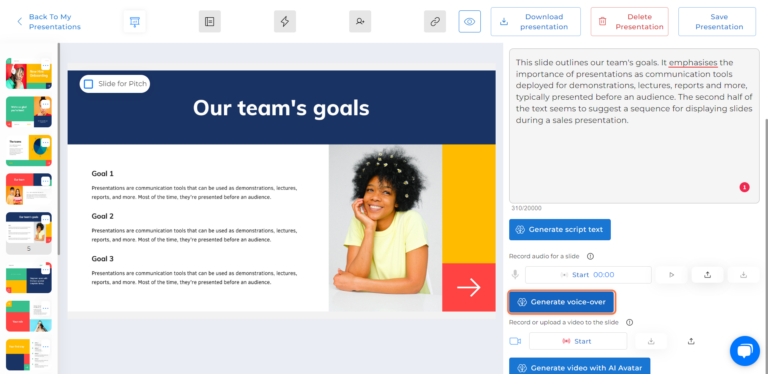
How to add a voice commentary
Enriching your presentation (or some parts) with your voice is a breeze with our two options: narrating it yourself or generating a voice-over. Let’s dive into the details.
You can either narrate directly on the platform or upload a track of your choice from your computer.
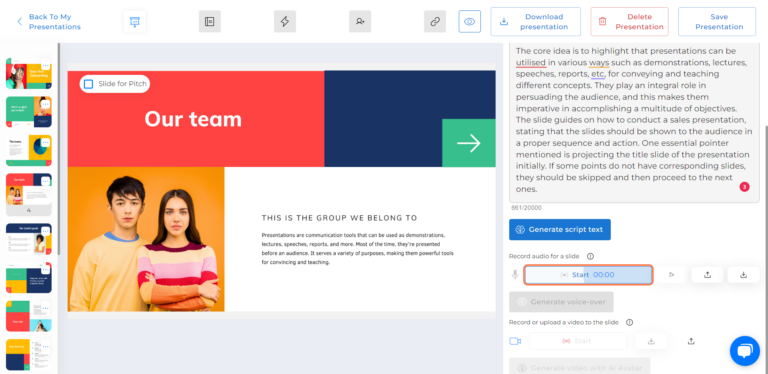
To add a voice commentary or narrate the slide on the platform, begin by selecting the slide’s length you’ll be working with.
Initiate the process by clicking the Start button.
Grant microphone access to capture your audio.
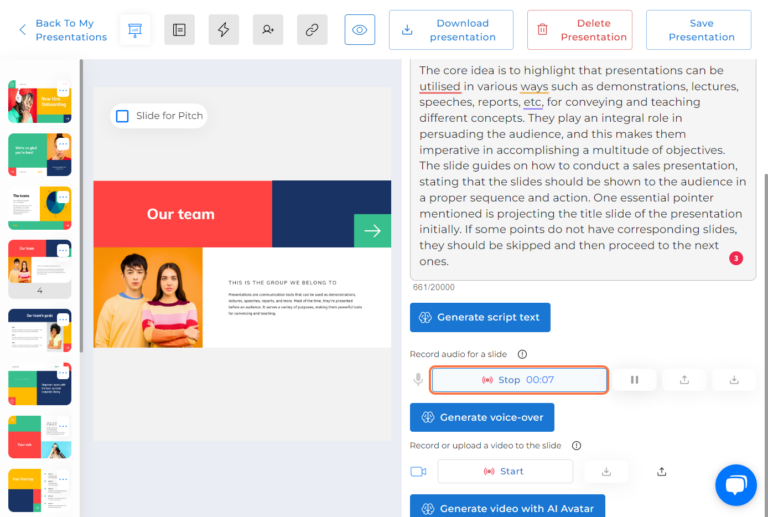
Instantly record the sound once access is granted. Feel free to press Pause whenever needed.
To resume recording, simply click on Stop button located on the right side of the Start/Stop bar.
End your recordining by clicking Stop.
Preview the result and, if necessary, delete or re-record it to perfection.
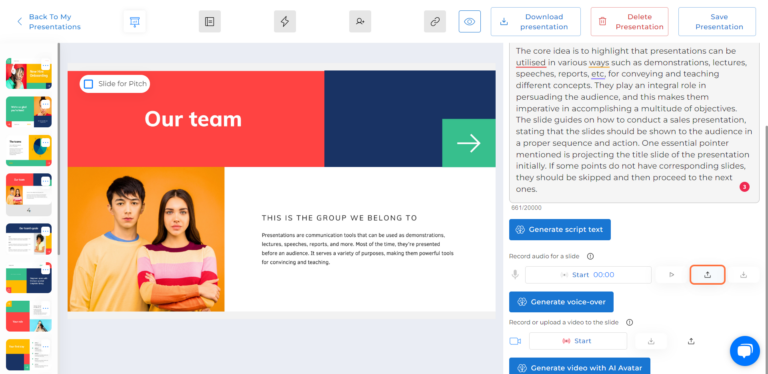
You can upload a pre-recorded audio file. Click the upward-pointing arrow button to initiate the upload.
A browser window will appear, allowing you to select the desired file from your computer.
Located adjacent to the upload button is a downward-pointing arrow button.
This function facilitates downloading single or all audio tracks from your presentation to your computer.
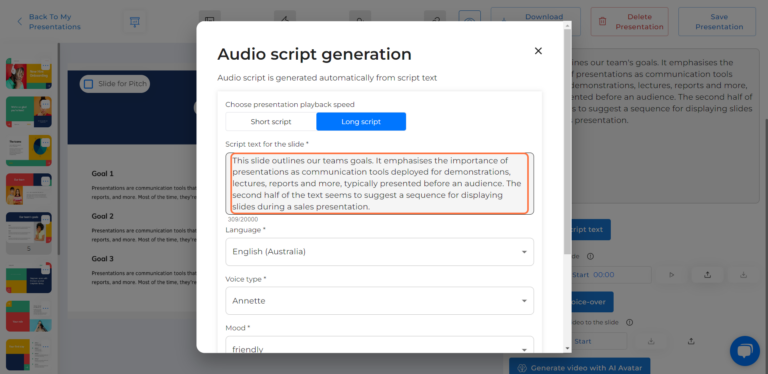
How to generate a voice-over
Prepare the text you want AI to voice-over. You can either:
Voice over the script that is already made.
Enter the text manually when the generation window opens.
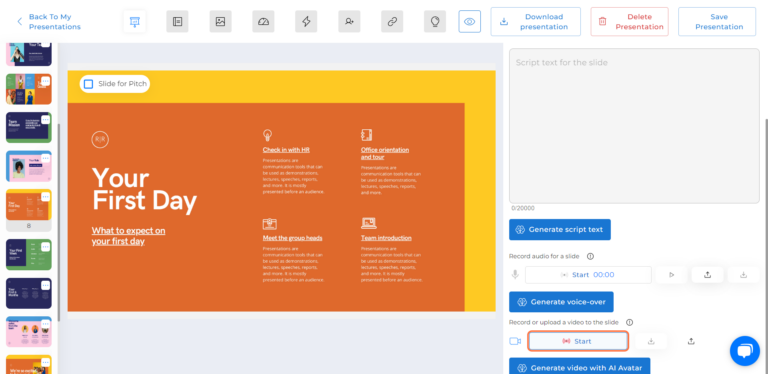
Click on the Generate Voice-over button.
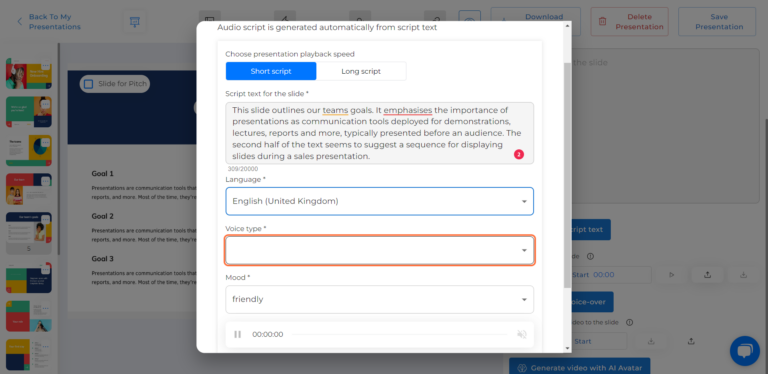
Choose the slide length you want to voice-over (long or short script).
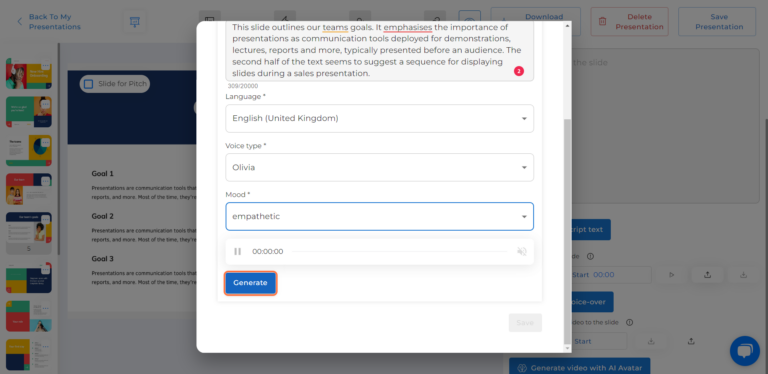
Use the text script already generated or enter a different on the text field.
Choose the type of voice you prefer from the available options. You can choose from a variety of voices, including male, female, and child voices. You can also choose from a variety of accents.
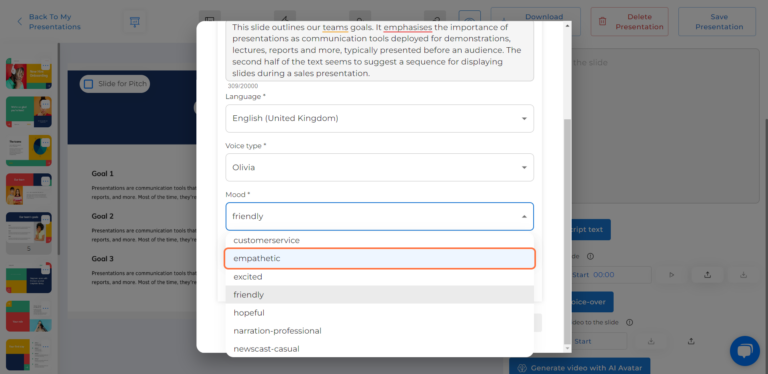
Select the mood for the voice. You can choose from moods like friendly, empathetic, or customer service. Choose the attitude that aligns best with the tone of your presentation.
Click the Generate button to start the process.
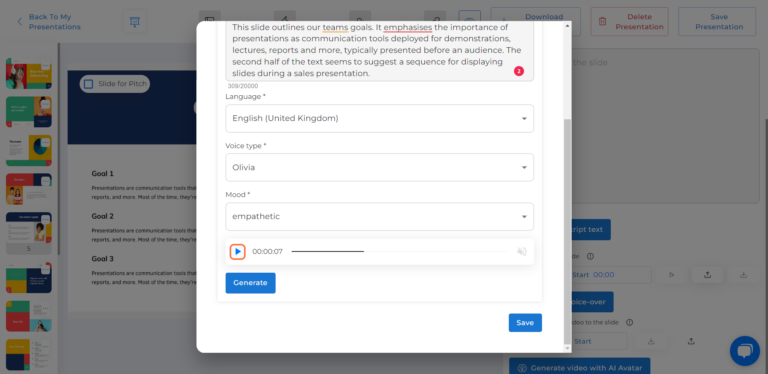
Once the text is processed and the audio is generated, you can listen to the generated voice-over by clicking the blue play button near the generated audio track.
Take the time to review the audio and ensure it meets your expectations.
When satisfied with the results, click the Save button to return to the General editing screen.
Note, that there is a limit of 20 000 symbols per one generation.
How to add video commentary
Boost the engagement of your presentation by incorporating videos. Similar to the options for adding a voice commentary, you can enhance your presentation by using your own videos or by creating your virtual AI Avatar.
So, how to add your own video?
Click on the Start button under Record or upload a video to the slide
Grant permission to access your camera, allowing you to record directly on the platform.
A window displaying the feed from your camera will appear.
When you’re ready to craft your mini-movie, simply click Start. To finish, click Stop.
Preview the recorded video. If adjustments are needed, you can easily delete it and re-record.
You can also Download the recorded video or Upload a ready-made video from your computer.
Once the video is on the slide, you can customize its positioning and size:
Click on the video to highlight it.
Change its position on the slide by dragging it to the preferred location.
Zoom in or out by resizing the video.
How to generate an avatar
Tired of handling everything by yourself? Let our artificial intelligence step in and help you! Create an avatar that will speak and interact for you.
Click on Create video with AI avatar.
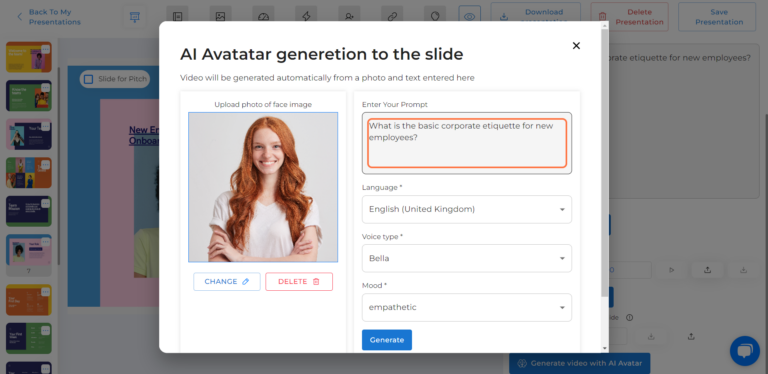
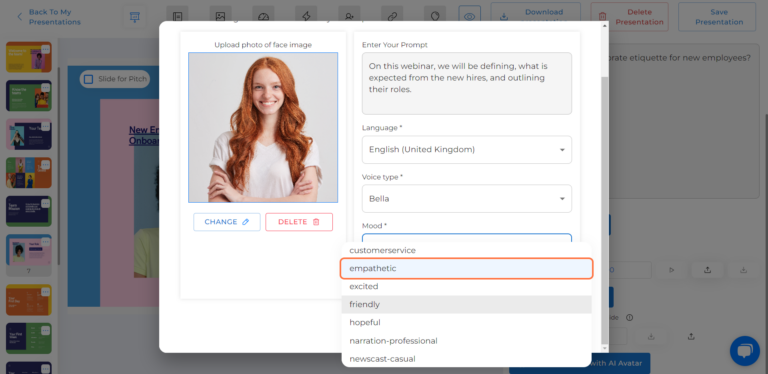
In the opened window, choose the source for the photo you’d like to use for your AI Avatar. You can upload an image from your computer or select one from our template library.
For optimal results, select close-up photos of the face to enhance the quality of the generated video.
In the Enter your prompts field you will have a previously generated or manually added text script. You can modify it or leave it as it is to generate the avatar speech
Choose the voice for your video. Similar to audio generation, you have the freedom to select a character and convey a specific mood through the voice.
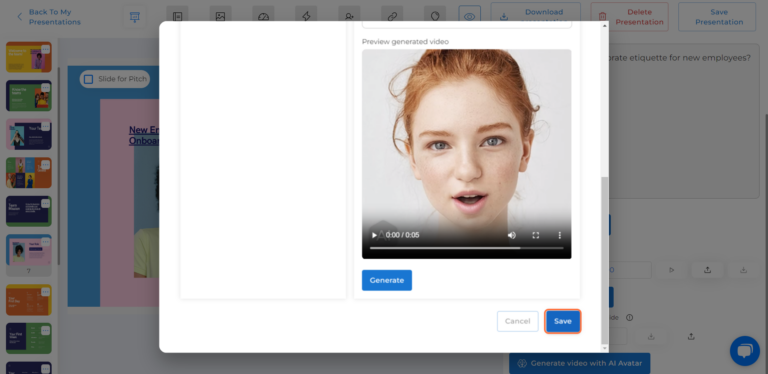
When you’ve select all the options you want to task the AI, click on Generate button to initiate the video creation process.
Please note that the time required for the generation process may vary based on the length of text script.
When the video is ready, and you are satisfied with the result, don’t forget to click Save.
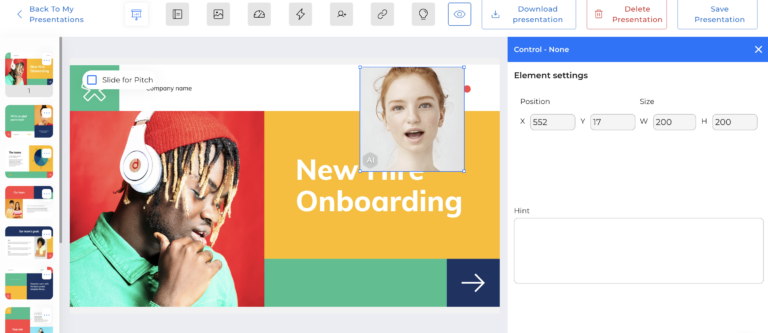
Your Avatar is now on the slide! You can customize its positioning and size:
Click on the video to highlight it.
Change its position on the slide by dragging it to the preferred location.
Zoom in or out by resizing the video.
Video generation consumes credits. A single credit corresponds to 15 seconds, or approximately 200 symbols of generated video. For instance, a 12-second video uses one credit, while a 16-second video requires two credits. Additionally, there’s a limit of 20,000 symbols per generation.