Custom Domain lets you set up a domain where your presentation links will be hosted. This service is only available to company administrators on paid plans: Professional, Business, Enterprise, and Developer.
Here’s what a link looks like without domain customization: https://slides.pitchavatar.com/{hash}
How to Set Up a Custom Domain
- Go to your Account settings.
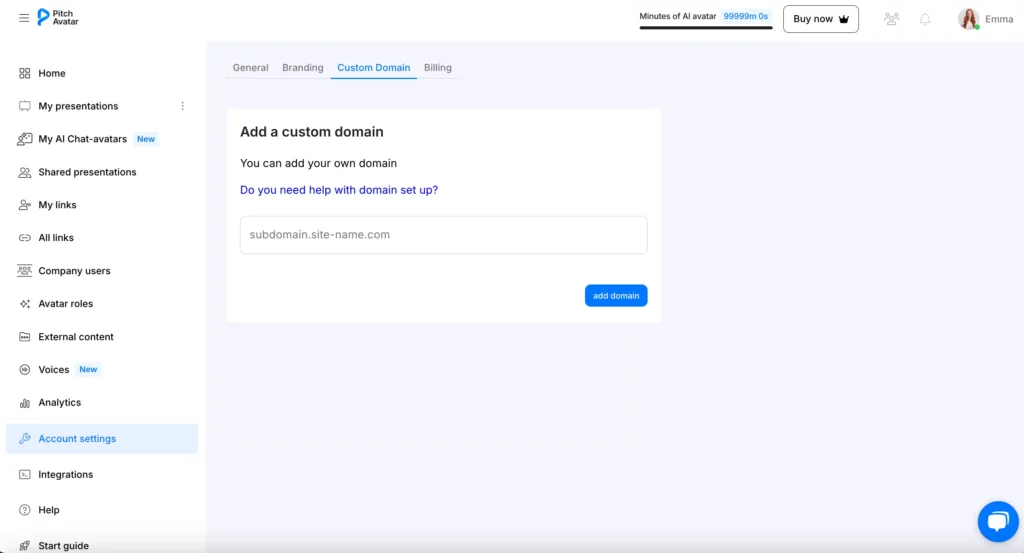
2. Navigate to the Custom Domain tab.
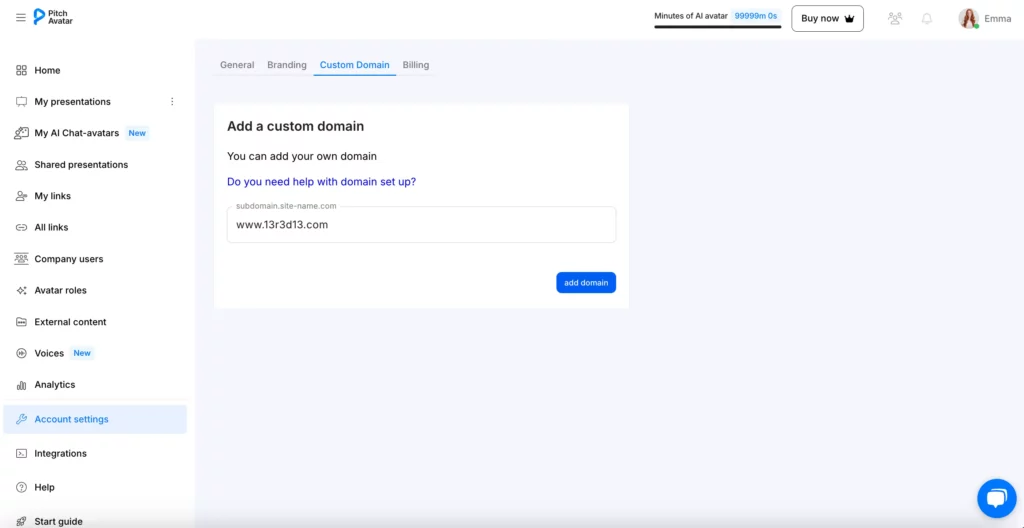
3. In the single input field, enter the domain with subdomain.
4. Click the Add Domain button.
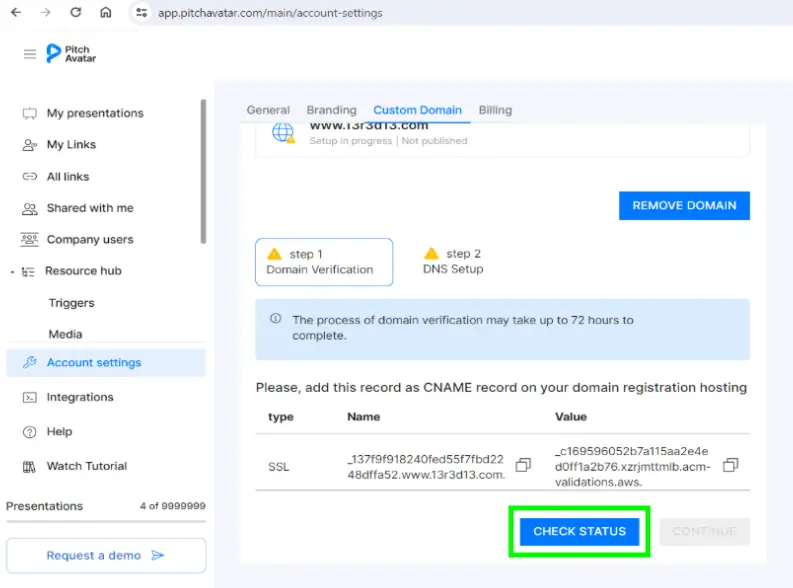
- Wait for SSL certificates.
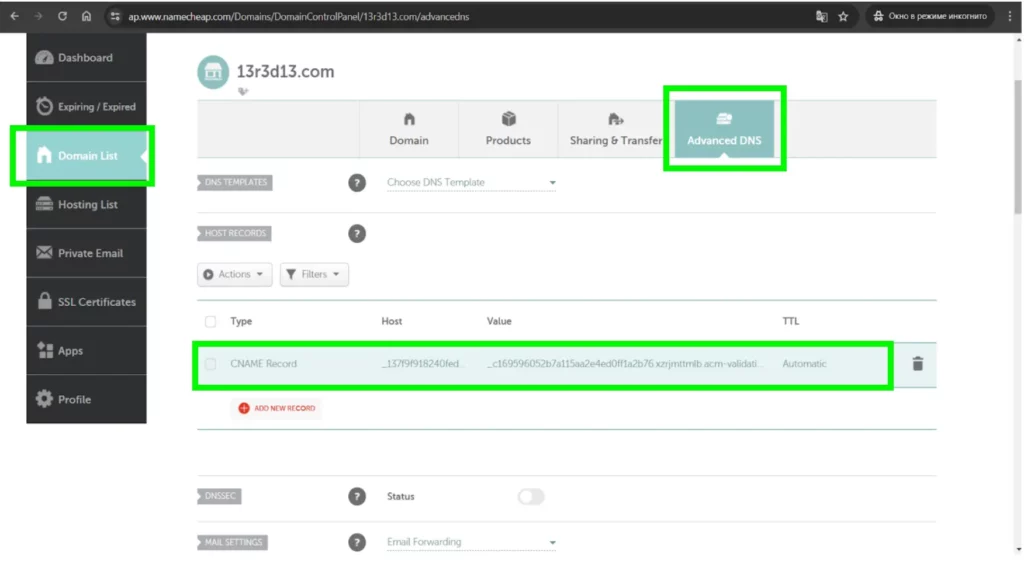
- When setting up the data on your domain provider’s page, you should:
– Set Type to CNAME RECORD.
– For Host, use the value from the CMS NAME column, but enter the incomplete value without the domain.
– 137f9f918240fed55f7fbd2248dffa52.www.13r3d13.com –-> _137f9f918240fed55f7fbd2248dffa52.www
– For Value, use the value from the CMS Value column.
– Set TTL to Automatic.
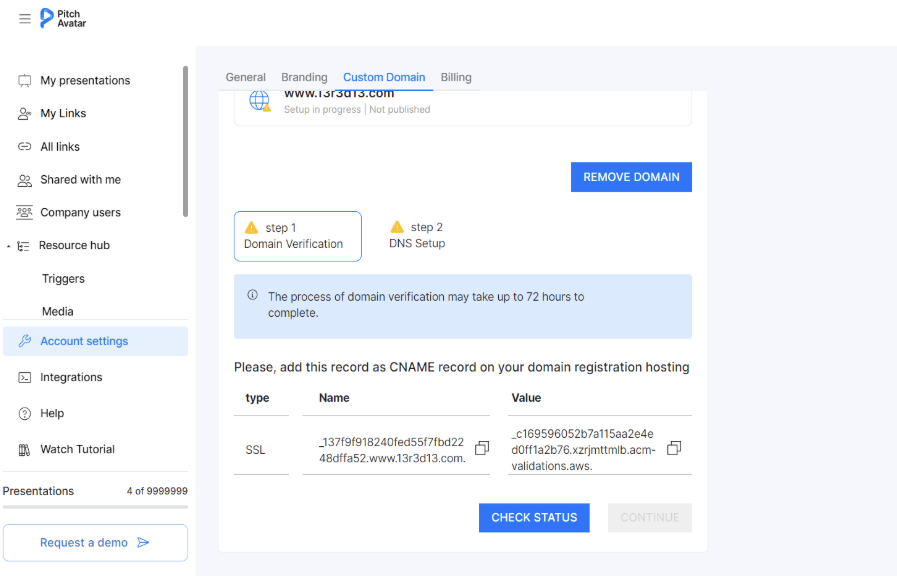
7. After the SSL certificate is set up on the CMS page, wait for DNS Cloudfront Distribution.
Wait up to 72 hours. To refresh the page, click the Check Status button.
8. You will get DNS Cloudfront Distribution shortly after.
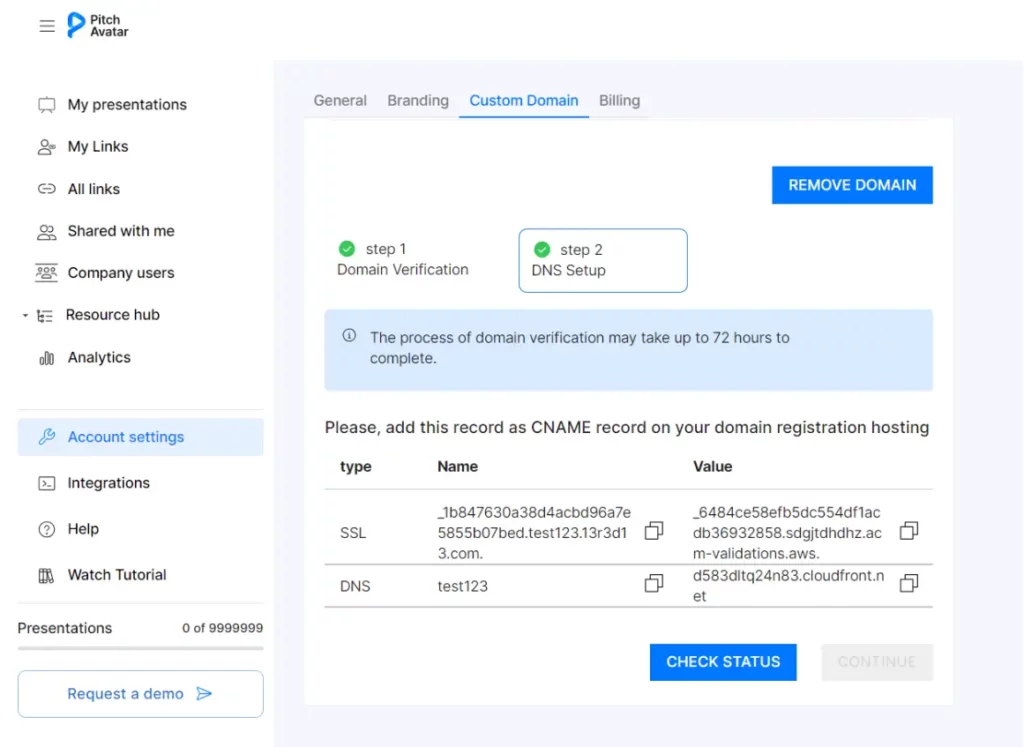
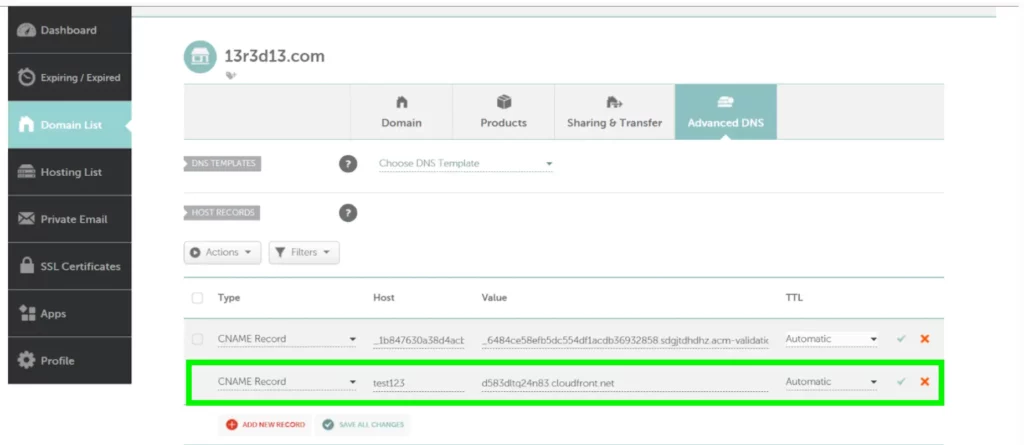
9. Enter the Name and Value field values into your domain settings (domain provider’s website).
Note:
- Set Type to CNAME RECORD.
- For Host, enter the value from the CMS NAME column.
- For Value, enter the value from the CMS Value column.
- Set TTL to Automatic.
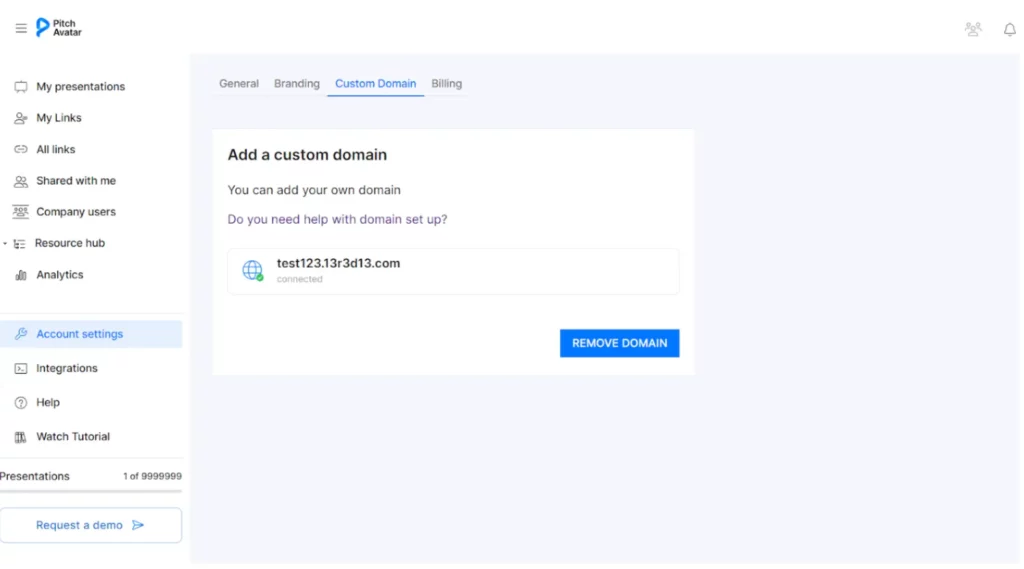
10. Wait until the Continue button becomes active.
11. Click the activated Continue button.

12. Check the domain status (make sure it’s connected).
Post-domain Setup Details
- After completing the setup, all links will be created with the custom domain.
- Updated link template after domain setup: https://{your_domain}/{hash}
- You can find custom links in My links, All links, and when creating a presentation link.
- To remove the custom domain, use the Remove Domain button.