Your AI assistant that adapts to different roles, speaks multiple languages, personalizes conversations, and presents dynamic content for goal-oriented interactions.
How to start
Go to My AI Chat-avatars and click theAdd new button in the upper right corner.
Screen 1: Create avatar
On the first screen, set the basic parameters: enter your avatar’s name, select voice and language, then take a photo or use one from Avatar library.
Click Next.
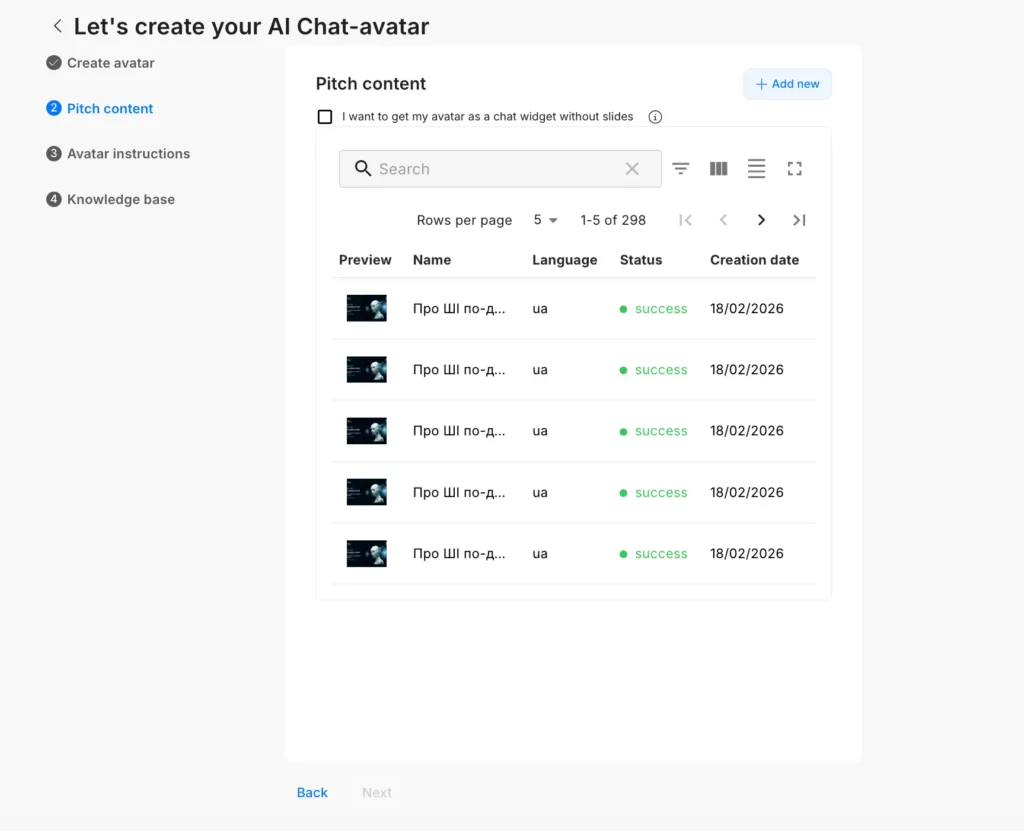
Screen 2: Pitch content
On the second screen, you can add presentation in one of two ways:
Click Add new to upload a new presentation
Select from your previously downloaded presentations (these will appear in the list if you have already uploaded any)
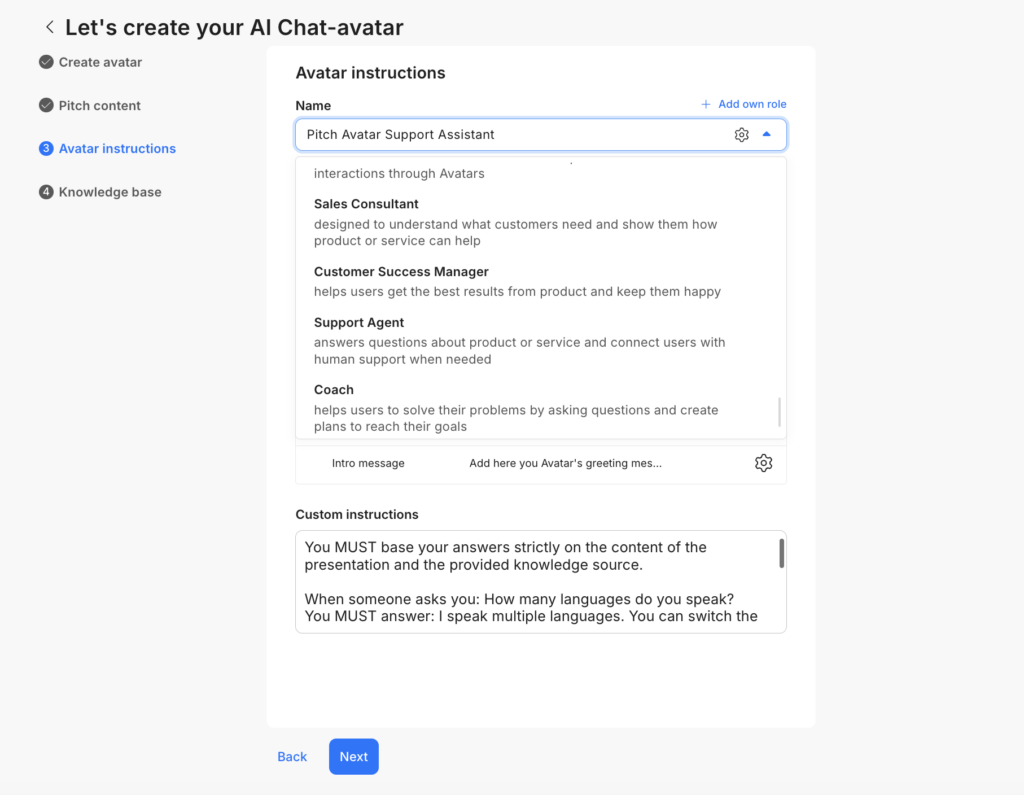
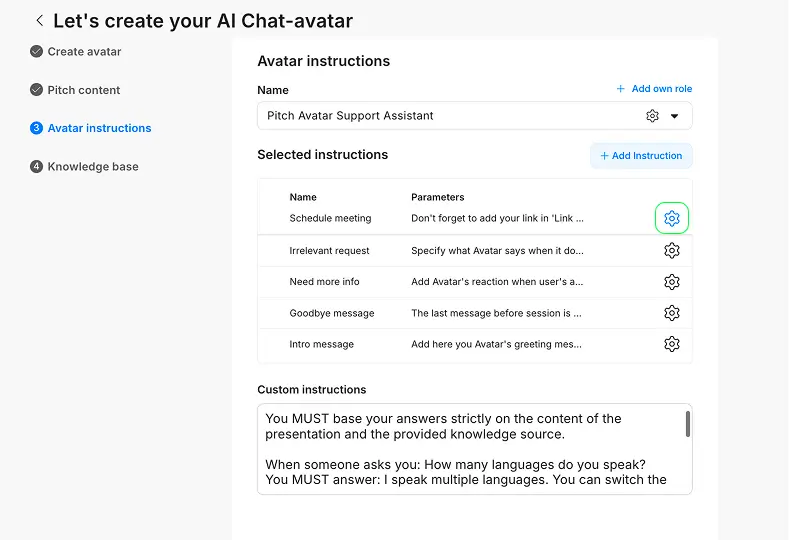
Screen 3: Avatar instructions
On the third screen, define how your avatar will act: select Chat-avatar’s role from the dropdown list.
Demo role shows how businesses can automate and personalize their customer interactions through Avatars.
Sales Consultant is designed to understand what customers need and show them how your product or service can help.
Customer Success Manager helps users get the best results from your product and keep them happy.
Support Agent answers questions about product or service and connects users with human support when needed.
Coach guides, educates, and motivates users, helping them better understand processes, tools, or specific aspects of your business.
In addition, you can create your custom role. This allows you to set the avatar’s behavior and tone of communication to match your unique business goals and style.
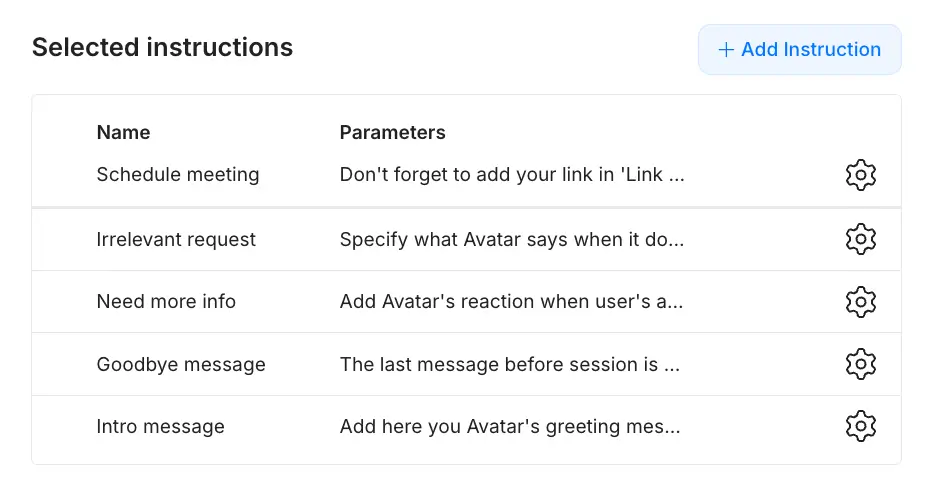
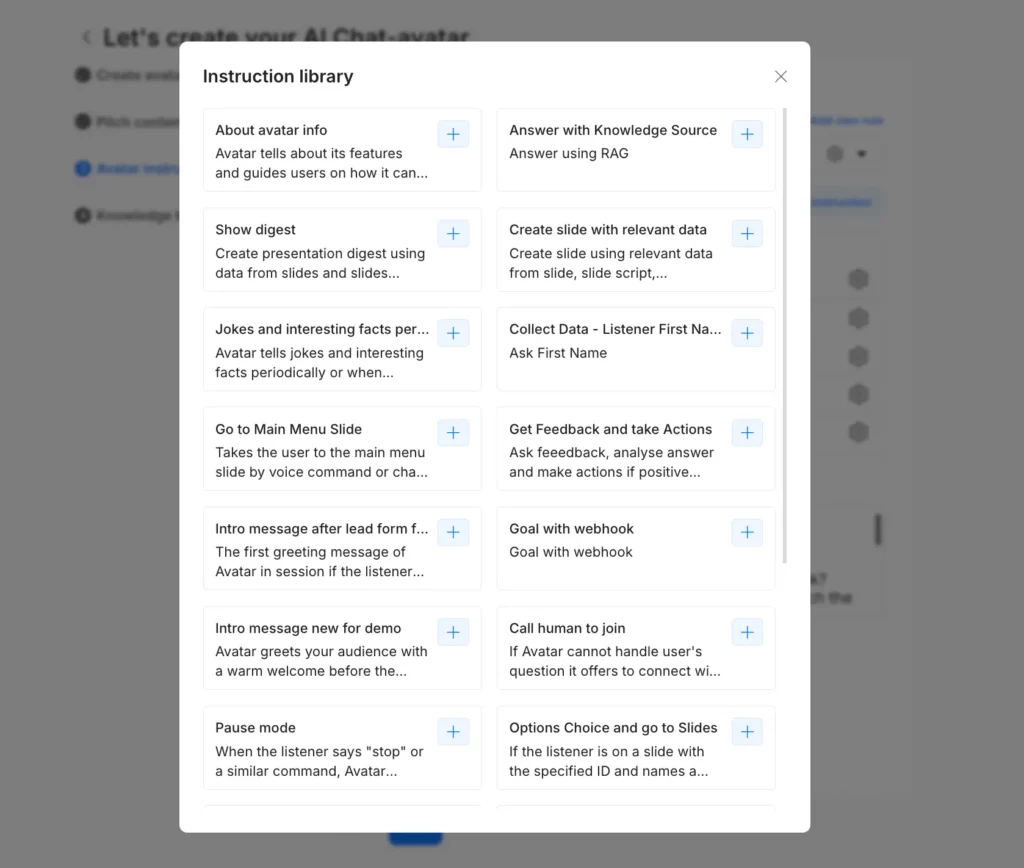
Pick the behaviors and instructions you want your avatar to follow.
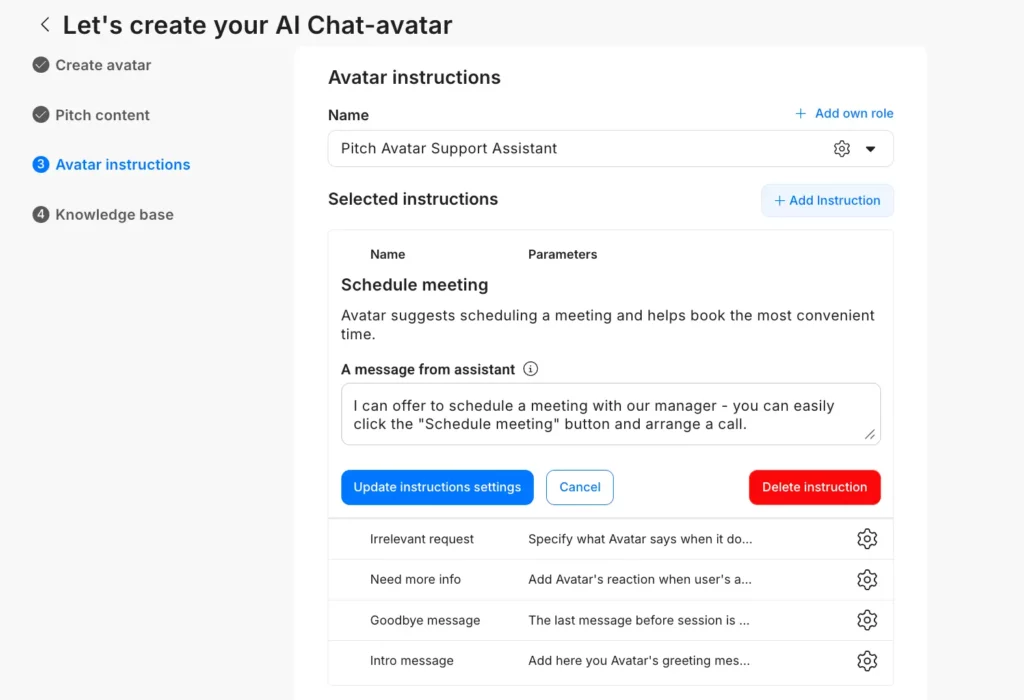
Click Edit to change your avatar’s default responses for any of the selected option.
Call human to join
Offers to connect with a live representative or end the session if the avatar can’t answer a question.
Schedule meeting
Helps users book a convenient meeting time.
Change language
Detects the user’s language and switches accordingly.
Pause mode
Pauses the session when users say “stop” or similar commands, waiting for further input.
Intro message
The first greeting your avatar sends when a session starts.
Goodbye message
A friendly closing message after answering all questions.
About avatar info
A brief explanation of your avatar’s features and how it assists users.
Malicious words
Select this to prevent inappropriate language during sessions.
Pricing request
Manage how your avatar discusses pricing. Add your price list or restrict price discussions.
Irrelevant request
Set how your avatar responds to questions outside its knowledge base.
Need more info
Customize how your avatar asks for clarification when it doesn’t understand.
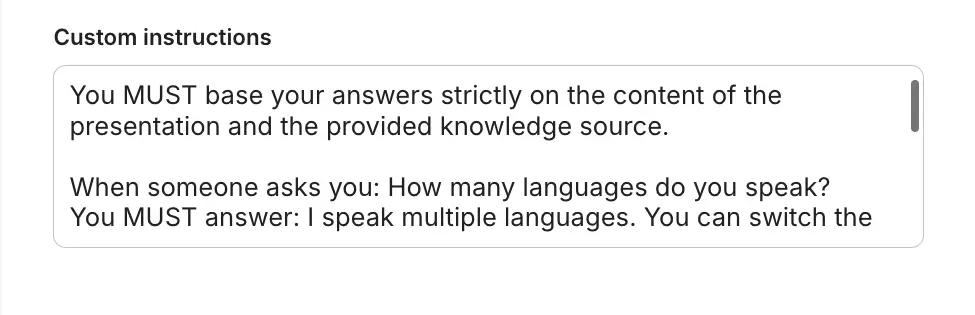
Feel free to guide your Chat-avatar by describing your target audience and providing clear instructions on how it should respond in the text box. For example:
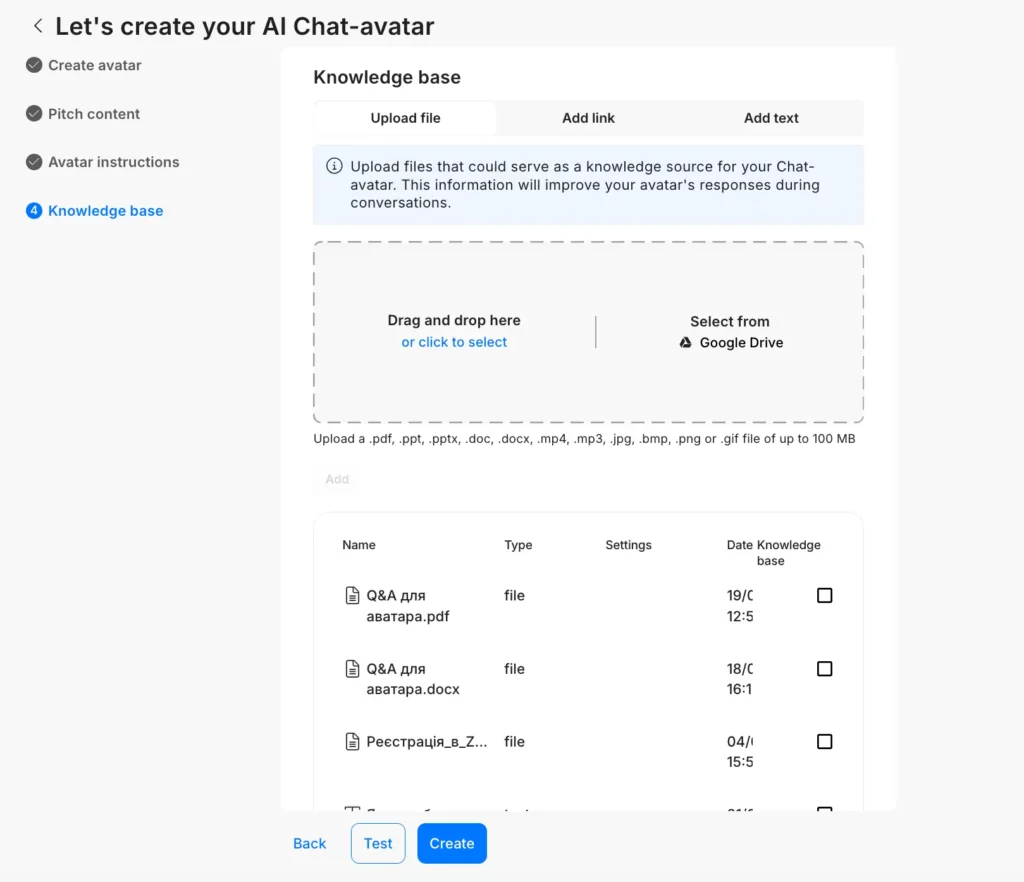
Screen 4: Knowledge source
On the fourth screen, teach your avatar what it needs to know. Add any information you want it to use when assisting people:
Upload files like documents or presentations (File)
Add links with helpful information (Link)
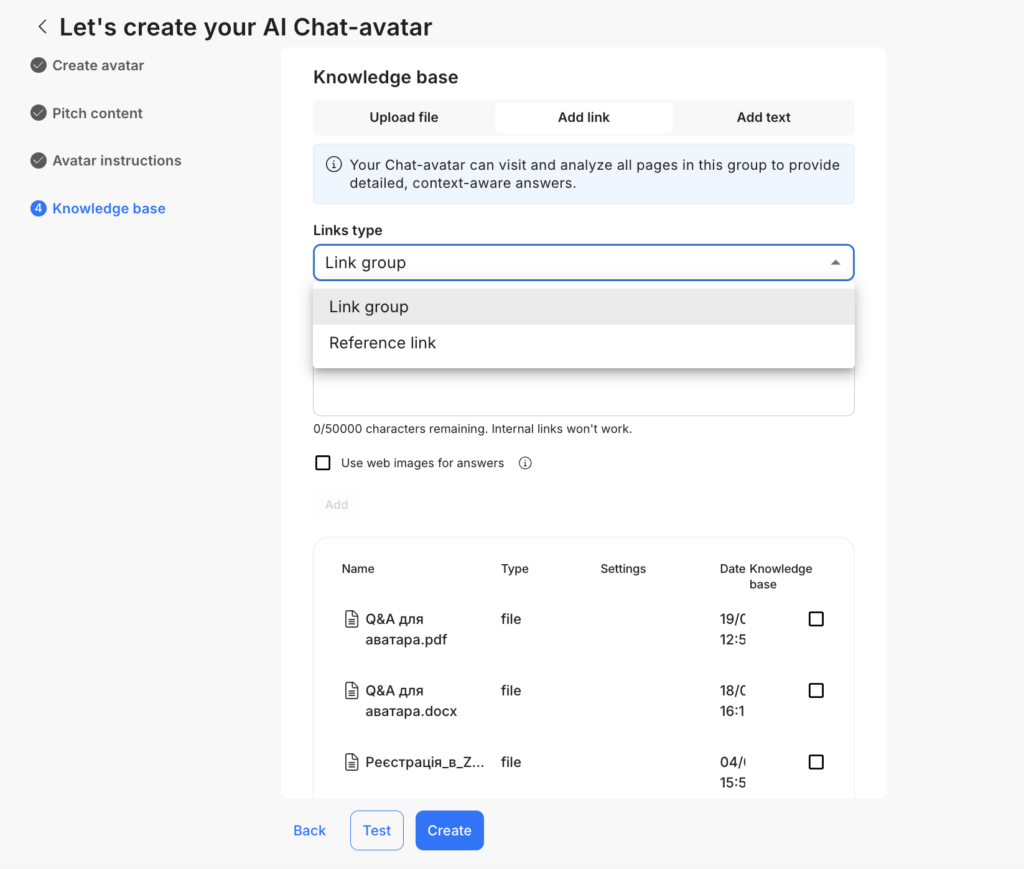
Link group
Reference link
Type information directly if it’s not in a file (Text)
Your avatar will learn from everything you add and use this as a knowledge source to answer questions.
Link type
When you add a link to your Avatar’s Knowledge base, you’re basically deciding if you want the Avatar to learn from it or just point to it.
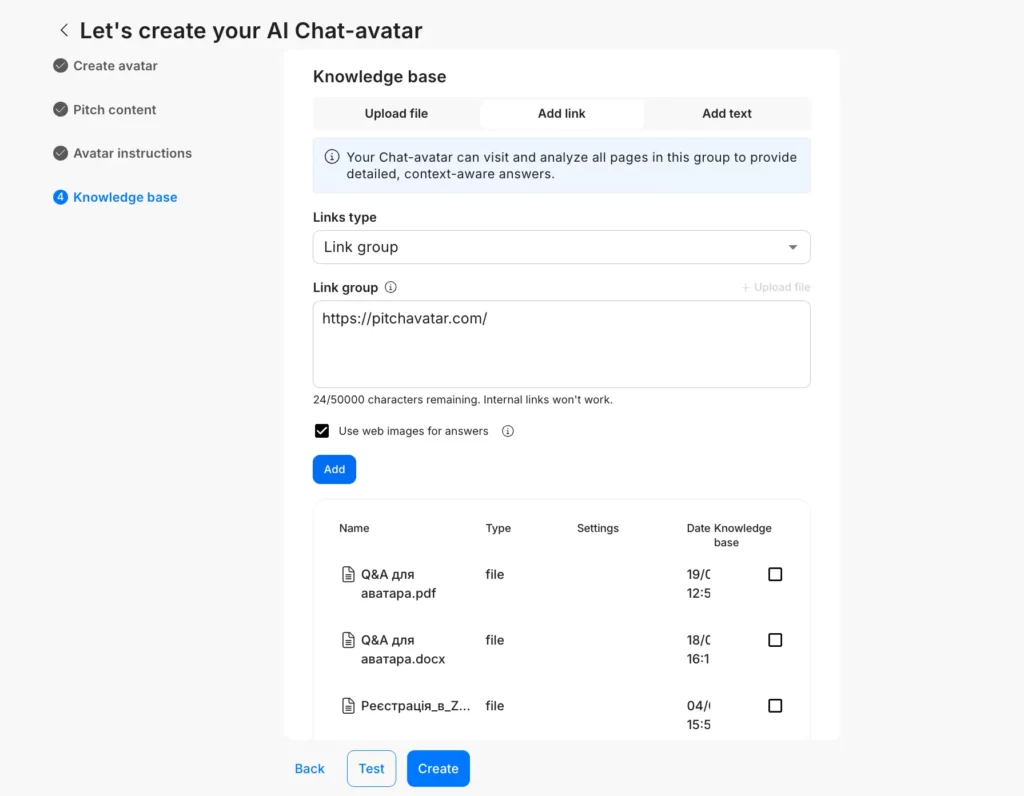
Link group
Think of this as giving the Avatar a book to read. It goes to the website, studies the content, and then uses that information to chat naturally with your audience. It’s perfect for articles or help pages where you want the Avatar to actually know the answers instead of just repeating them.
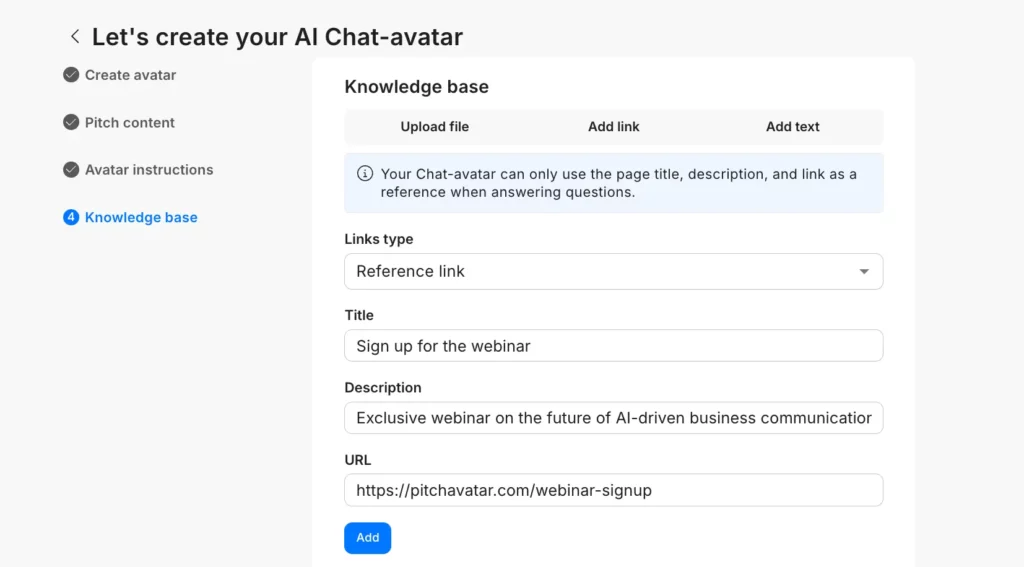
Reference link
This is more like giving the Avatar a business card to hand out. Instead of the Avatar reading the whole page, you tell it exactly what to say. You give the link a clear name (like “Sign up for the Webinar”) and a short description. When someone asks a relevant question, the Avatar pops up a nice, clickable button with your specific text. It’s the best way to guide people toward a specific action, like a booking form or a download, especially if you want the text to be in a specific language like Ukrainian.
Note: To make sure your Reference link appears correctly during the conversation, you should add the Show relevant links instruction in the previous step (Avatar instructions).
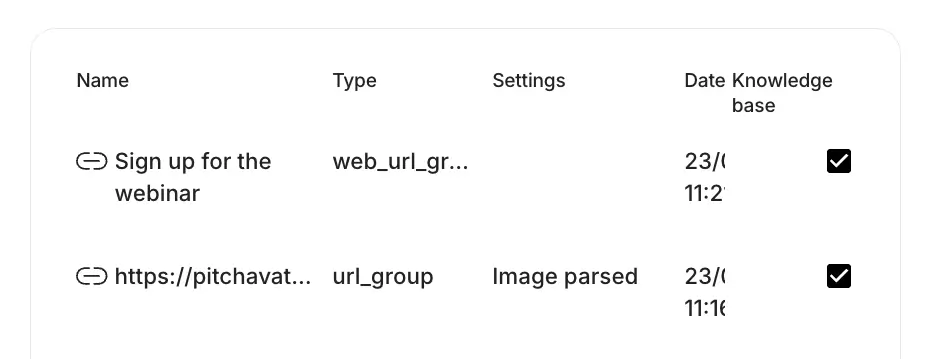
After adding any link, ensure the checkbox next to the link name in the list is checked. If it isn’t checked, the Avatar won’t be able to “see” or use that resource in the conversation.
Testing and finalizing
-> Test
Click Test to try your avatar. See how it talks and answers questions.
-> Create
If you like how it works, go back and click Create.
-> Share
Generate a shareable link by clicking Create and send it to others.
Where can I find my Chat-avatar?
In the My AI Chat-avatars tab – exactly where you started.