A quick guide on how to connect Pitch Avatar with your Creatio system to make your sales presentations more engaging and boost customer interactions.
Available features
- Assign presentations to contacts
- Access presentations within Creatio
- Link presentations to leads
Getting started
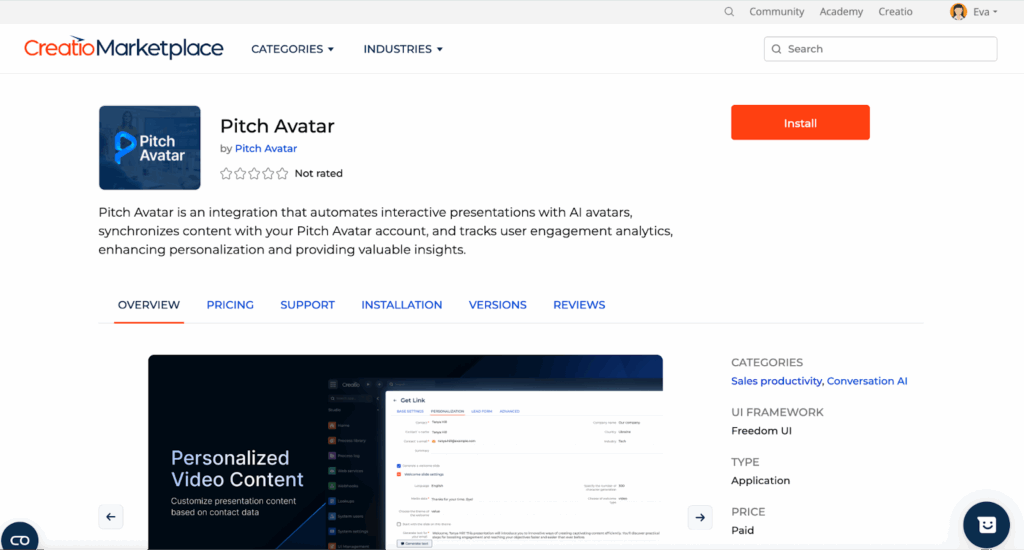
Go to the Creatio Marketplace: https://marketplace.creatio.com/
Search for Pitch Avatar and install it.
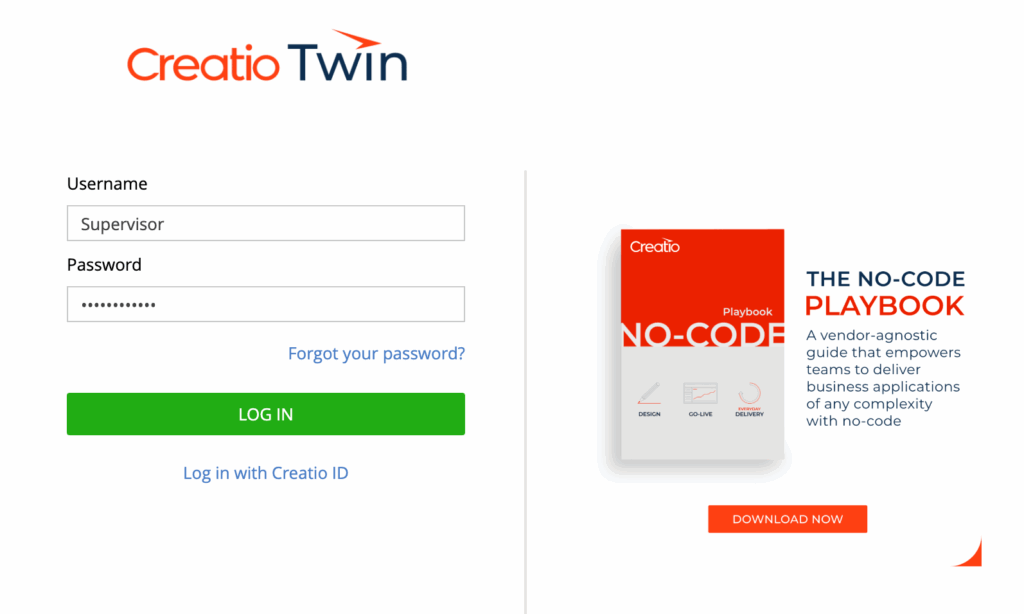
Log in
Log in to your portal: https://066795-sales-enterprise.creatio.com/
If you don’t have an account yet, create one. The system will provide a free 14-day demo trial.
Connect your Pitch Avatar account
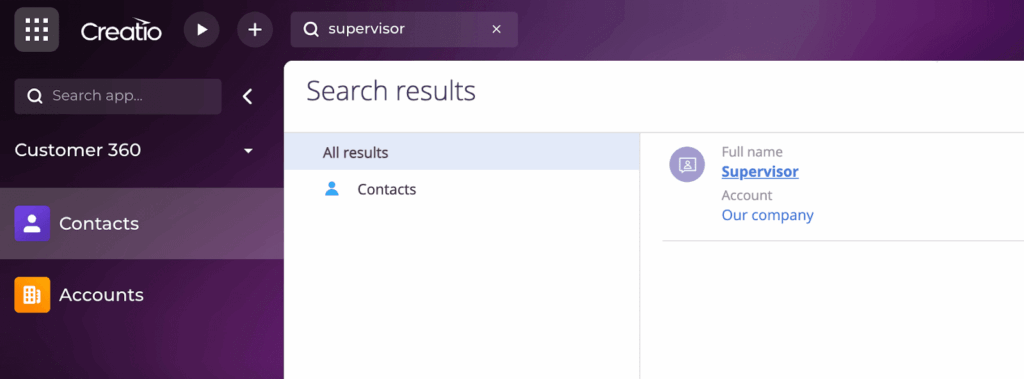
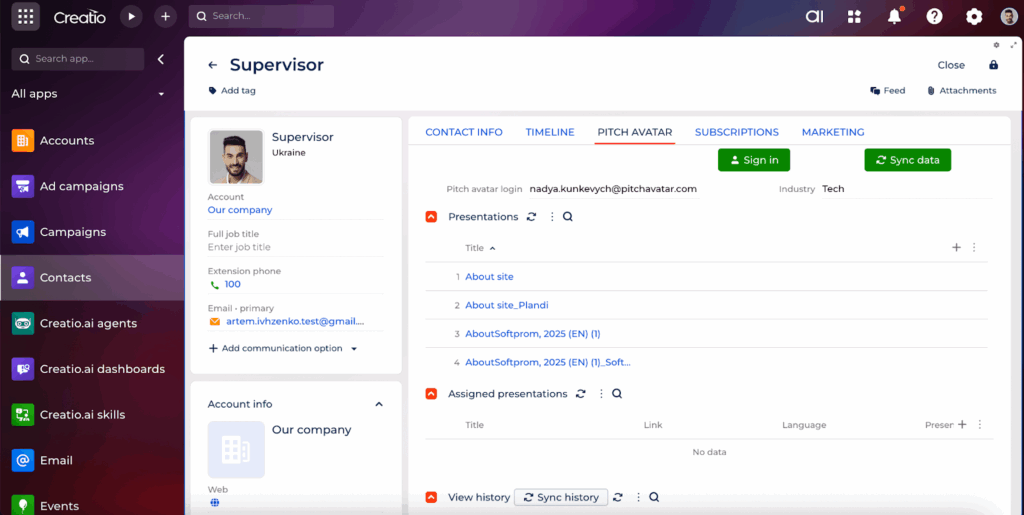
- Navigate to Contacts in Creatio.
- Open your contact (e.g., Supervisor).
- Click the Sign in button.
- Enter your Pitch Avatar login credentials.
- Click Sync data and wait. If it seems stuck, don’t click repeatedly, refresh the page instead. Your presentations will sync automatically.

First-time setup verification
After connecting your account, you need to verify the following (important for first-time setup):
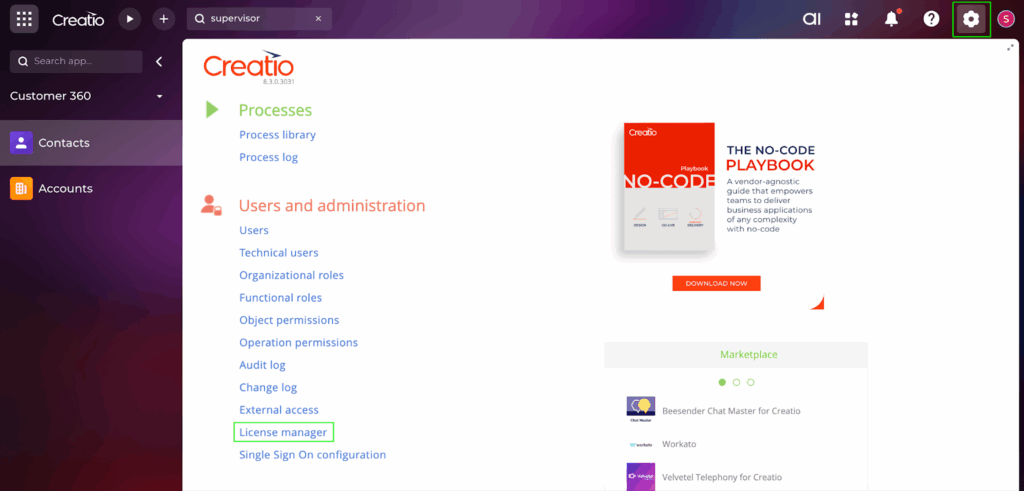
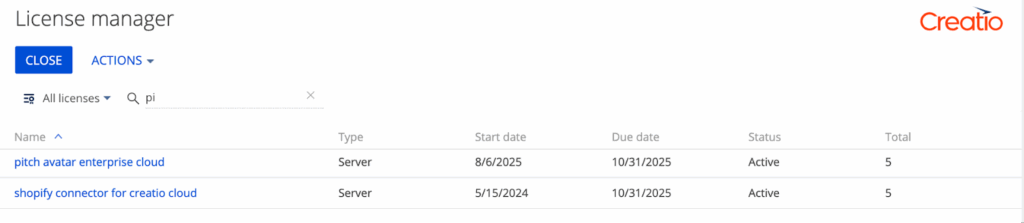
- Check your license (if you’ve purchased or been assigned a license):
- Go to Settings → License manager
- Click on All licenses
- Verify that your Pitch Avatar enterprise cloud license appears in the list
Go to System setup → System settings
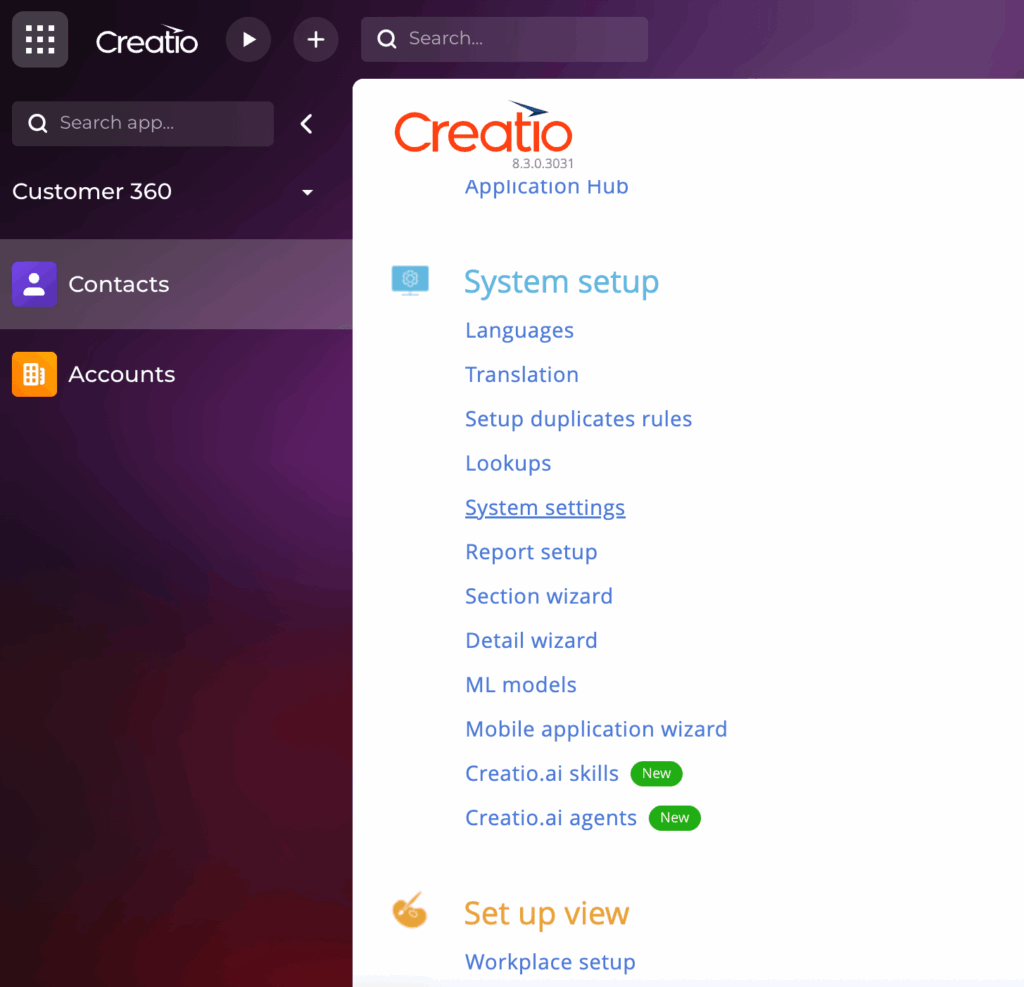
Find by filter for Pitch Avatar and press Open.
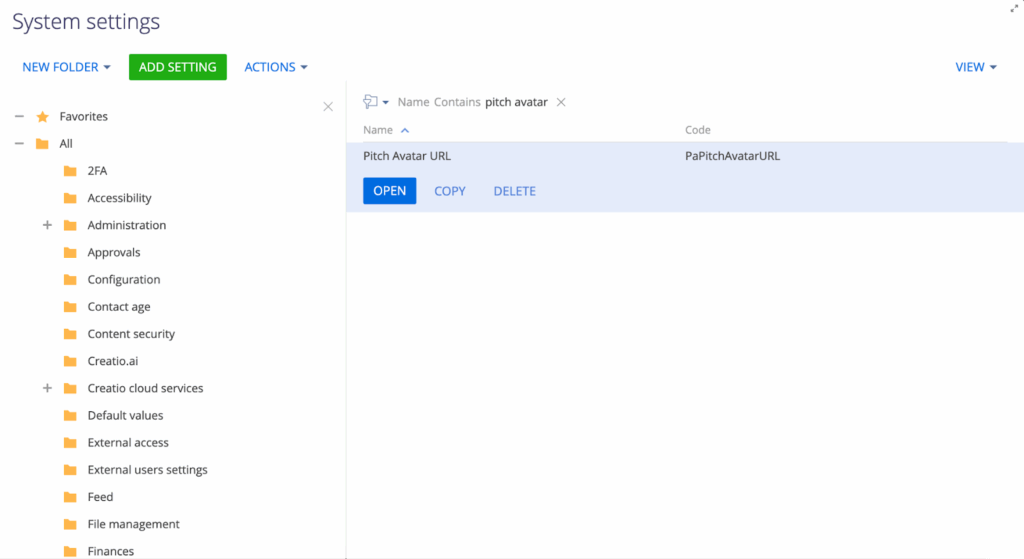
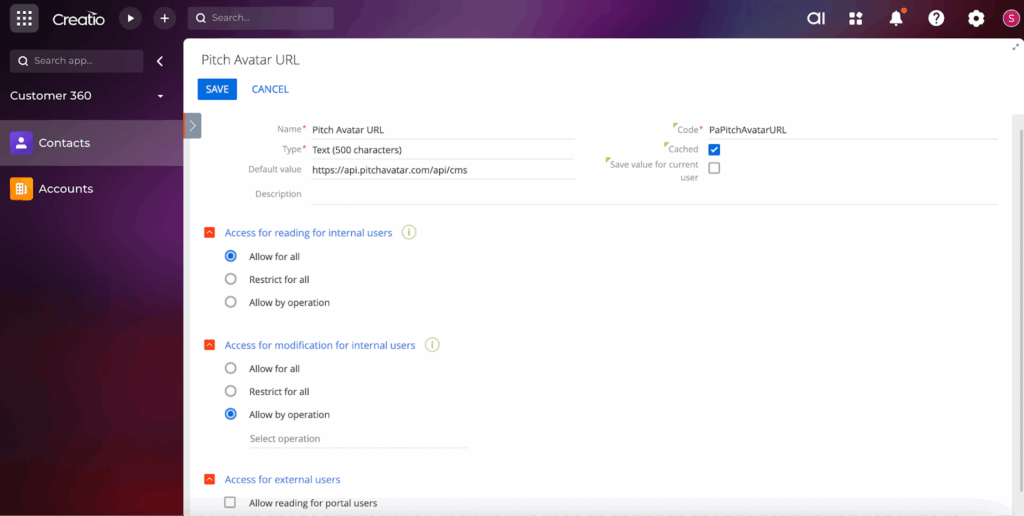
Set the default value to the API endpoint: https://api.pitchavatar.com/api/cms
This configuration is only done once; the system is ready to work.
Configuring your presentation link
Create a personalized presentation link
It’s time to create links for your contacts and clients.
Important! This must be done from your account, under your contact, in the Pitch Avatar tab.
In the Presentations section, find the presentation you need and click the three vertical dots to the right of it – the system will prompt you to create a link.

You’ll see 4 configuration tabs. Configure them in this order:
Basic settings
- Presentation title: You cannot change the presentation name itself. You can only edit the link name. We recommend including the recipient’s email along with the presentation name to make it easier to identify in analytics
- Calendar integration: Add a link to your calendar for easy meeting / demo booking
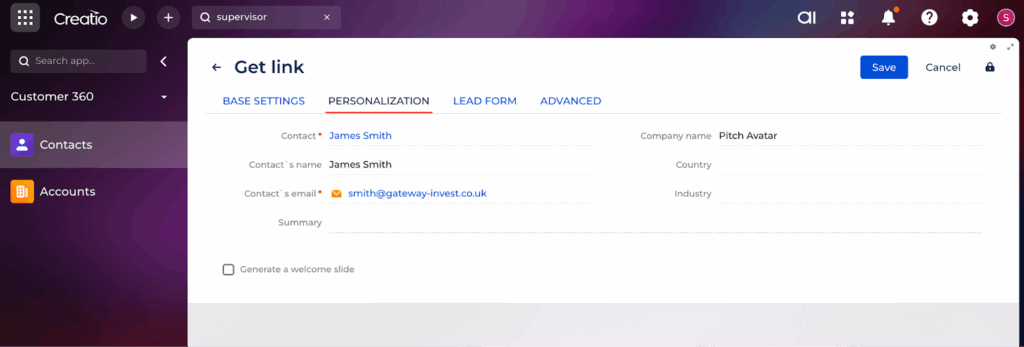
Personalization
Contact selection: Choose the specific contact from the dropdown menu
Note: Generate a welcome slide checkbox in the presentation settings is currently not functional and should not be used. This feature is under development and will be updated in future releases.
Lead form
The lead form is used to collect contact information from your viewers at a specific point in the presentation. It’s ideal for scenarios such as:
- Qualifying potential clients or leads
- Requesting additional information before providing access to more content
You can add a custom message that will appear in the lead form. For example: “To continue viewing the presentation, please fill out this form.” This helps you gather the data you need from your viewers.
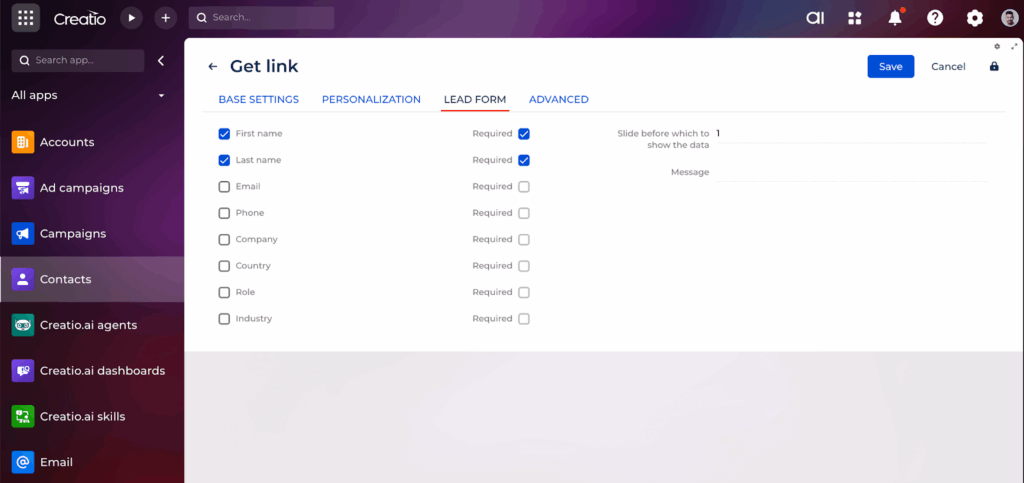
You can add a lead form to your presentation so that when a contact views it, they are prompted to fill it out after, for example, the 10th slide. This way, if they are interested in your offer, their details are automatically captured and synced with Creatio.

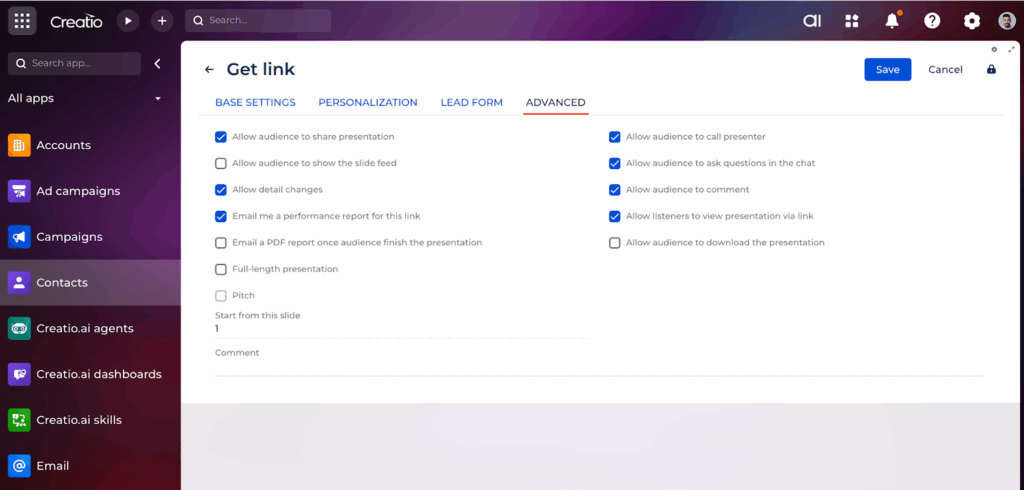
Advanced settings
Configure detailed presentation behavior and audience permissions:
Finalizing and testing
Save and generate link
- Click Save to create your personalized presentation link
- Wait for the system to generate the unique link
- Test your setup:
- Click the generated link to preview your presentation
- Test the lead form by entering a sample name
- Verify that the presentation displays correctly

Link assignment
The system automatically assigns this link to your selected contact. You can track which presentations are assigned to which contacts, and lead form submissions will be linked to the appropriate contact.
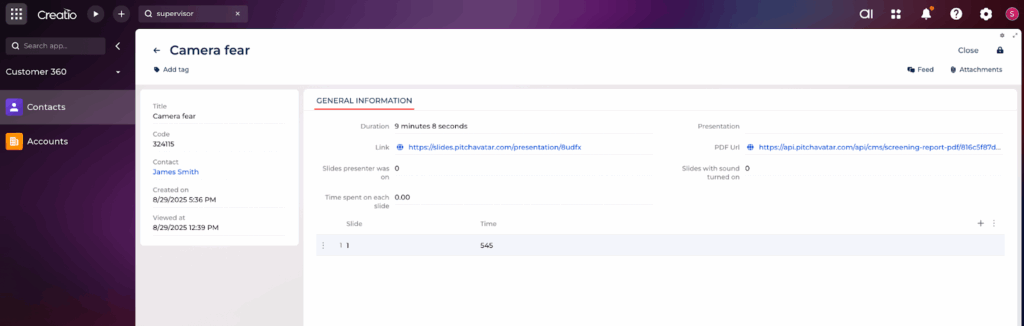
To check if the contact has viewed the presentation, simply open their profile in Creatio.
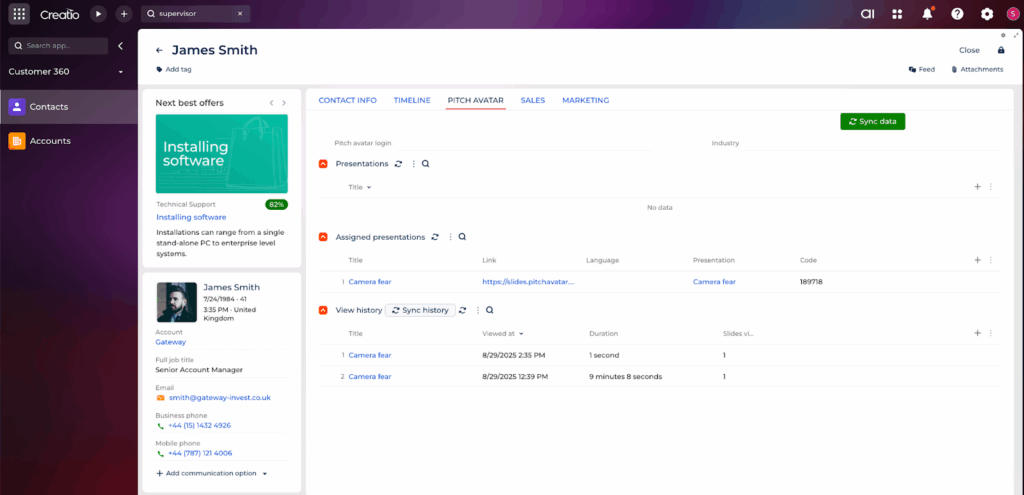
Analytics and tracking
Viewing performance data
Sync history: Analytics data syncs automatically after some time
This analytics shows which links were opened, how many slides were viewed, and how much time the viewer spent on each slide.